Chapter 3-4: (Continued)
Part 12: Placing Items
So far, we've just had items sitting as Special Items inside of Cave/Item Cellar type rooms. However, we are now going to place an item on the screen manually.
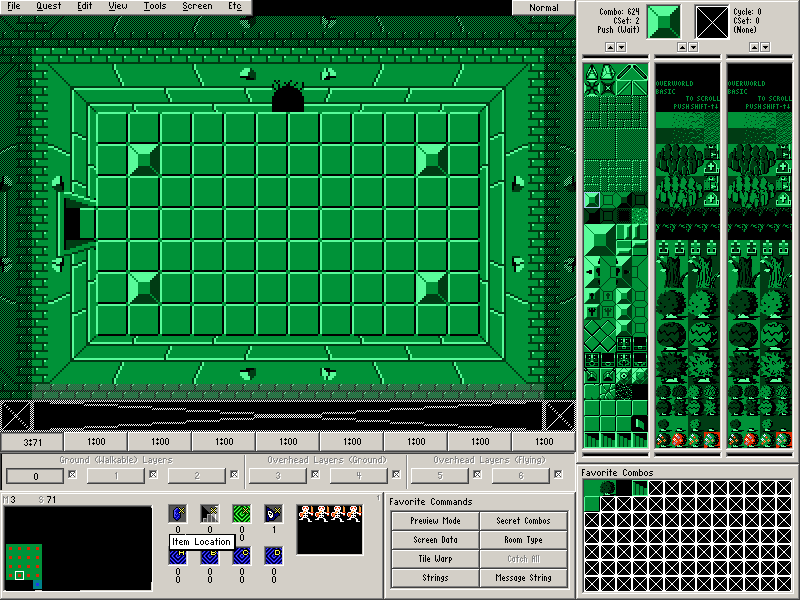
Let's make the screen shown above on Map 3→Screen 71.
Door Combo Sets and Placing Doors
- Place the doors. (Screen→Doors or F6).
- There is a Bombable Wall to the north and an Open door to the west.
Note: In the ZQuest Editor, bombable walls looked bombed. However, when playing the graphics will appear as the combos on the screen before the bombable wall was placed (usually a regular wall). The graphic shown in ZQuest is how the wall will look after the wall is bombed.
- Place some enemies on the screen if you want.
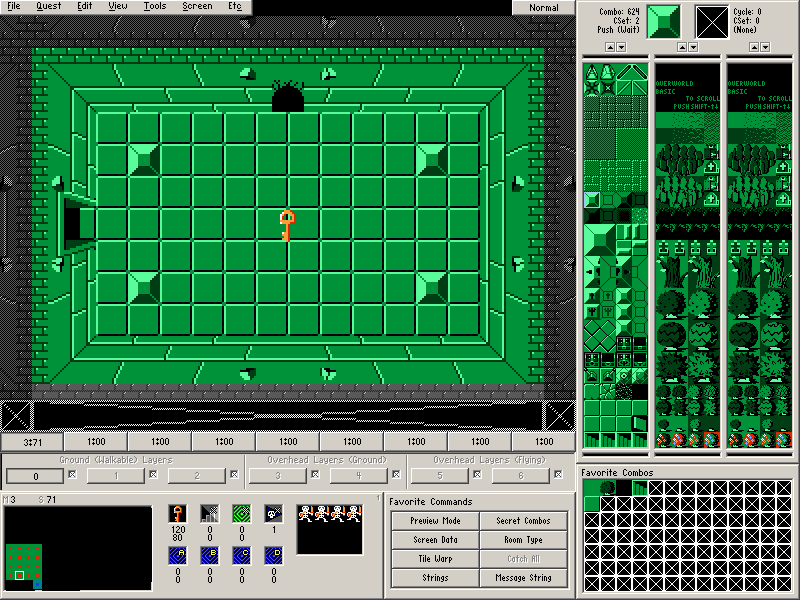
To place an item on the screen, click the Item Location icon (the first button in the Screen Panel).
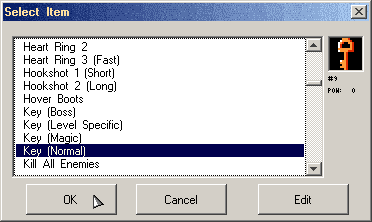
ZQuest should ask you which item you wish to place. In this case, we want the item Key (Normal) Select it from the list and press OK.
From here, placing the item on the screen should be identical to placing a warp arrival square or a warp return square. Simply click and drag until you have the item where you want it. If you messed up, either try the process again, or you can click on the key itself to drag it around the screen.
There are some optional screen flags you can set to go with this item you placed that you may want to look into.
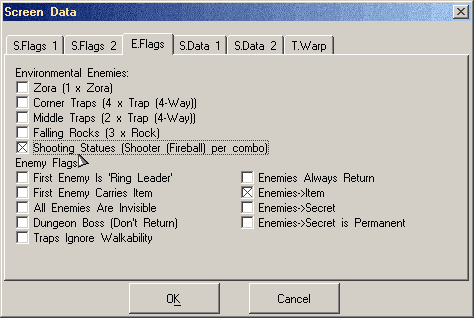
Go to Screen→Screen Data (or F9) and switch to the E.Flags tab (Enemy Flags).
- Enemies→Item
When you defeat all enemies on the screen, the item will appear where you placed it. - First Enemy Carries Item
The first enemy to spawn on the screen will carry the item inside of it. Don't use this at the same time as Enemies→Item. Note that you should still place the item somewhere on the screen if you use this flag since there is the possibility of entering a room with all enemies already dead.
Under the S.Flags 1 tab (Secret Flags).
- Hold up Item
The player will hold up the item if they pick it up. - Item Falls from Ceiling
The item will fall down from the ceiling when it appears. You can combine this with Enemies→Item.
Part 13: 10 Rupees Room
On the overworld, all special rooms were directing themselves to Cave/Item Cellar type rooms. However, our dungeon DMap does not have the Special Rooms and Guys Are In Caves Only DMap flag checked, so they will appear directly on the screen. Let's try this out with a new type of room: the 10 Rupees Room.
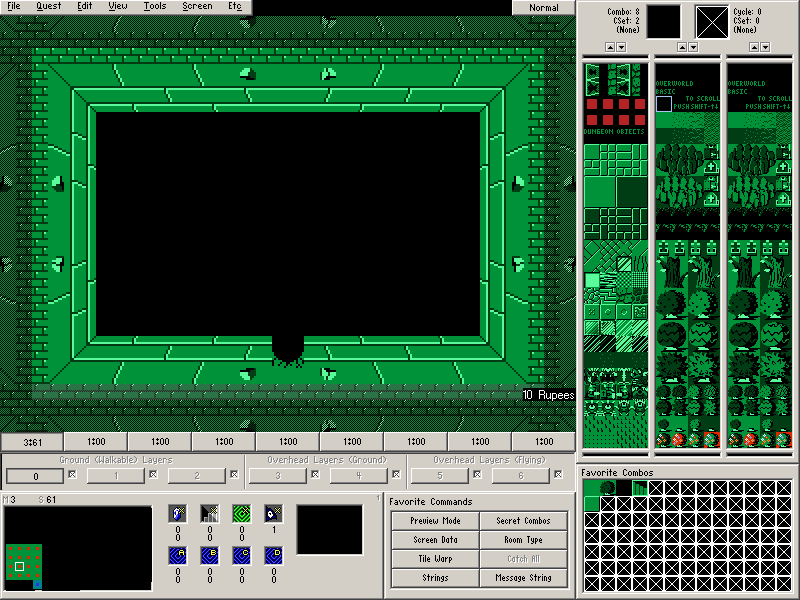
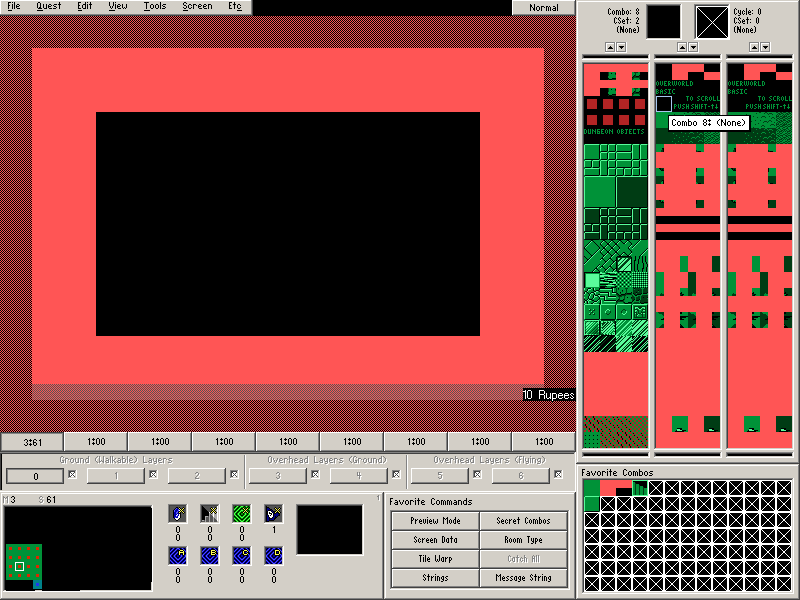
Draw the screen shown above on Map 3→Screen 61.
It is important to note that the black floor being used here is Combo 8. Make sure you use this combo for the floor since other black combos do not have the same walkability. Toggle View→Show Walkability (W) to make sure the floor is walkable (not pink).
Door Combo Sets and Placing Doors
- Place the doors. (Screen→Doors or F6).
- There is a Bombable Wall to the south. This will automatically connect to the Bombable Wall in the previous room.
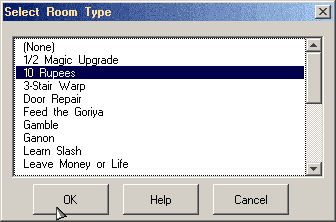
Go to Screen→Room Type (R) and select 10 Rupees.
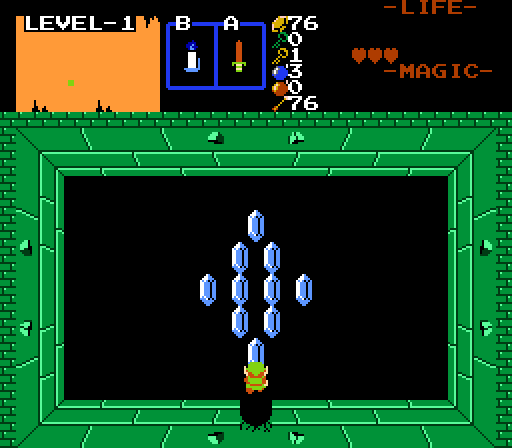
That's all you need to set up for this room since it doesn't require a Guy. Here is how it should look in Zelda Classic:
Part 14: Shooting Statues
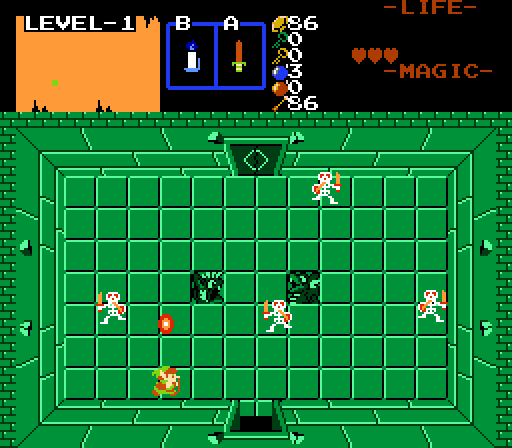
In Zelda 1, there were often rooms with statues that would shoot fireballs at you. It's rather simple to do in Zelda Classic.
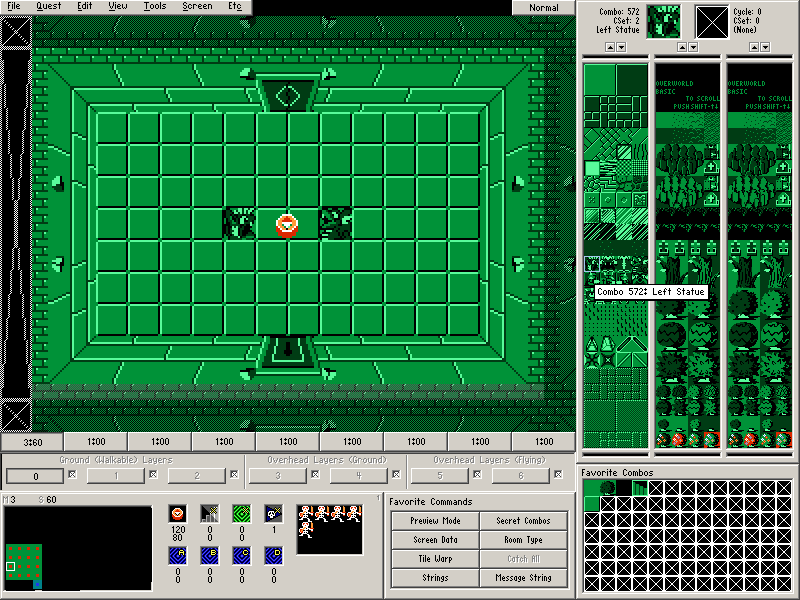
Draw the above screen on Map 3→Screen 60.
Door Combo Sets and Placing Doors
- Place the doors. (Screen→Doors or F6).
- There is a Locked Door to the south and a Shutter (a door that closes and by default reopens when all enemies are killed) to the north. The Locked Door will automatically connect to the Locked Door in the entrance room.
- Place some enemies on the screen if you want.
- Place a Compass on the screen.
- Use some of the optional item screen flags if you like.
To make the statues that you placed on the screen shoot fireballs, there are two things you need to do. First off, you need to make sure that you have actually placed Left Statue, Right Statue, or Center Statue combos on the screen since the method we are using will only work with those combo types.
Next, go to Screen→Screen Data (or F9) and switch to the E.Flags tab.
Select Shooting Statues (Shooter (Fireball) per combo). With that, the statues should now be shooting fireballs.
