Chapter 3-6: (Continued)
Part 18: Item Cellar Template Screen
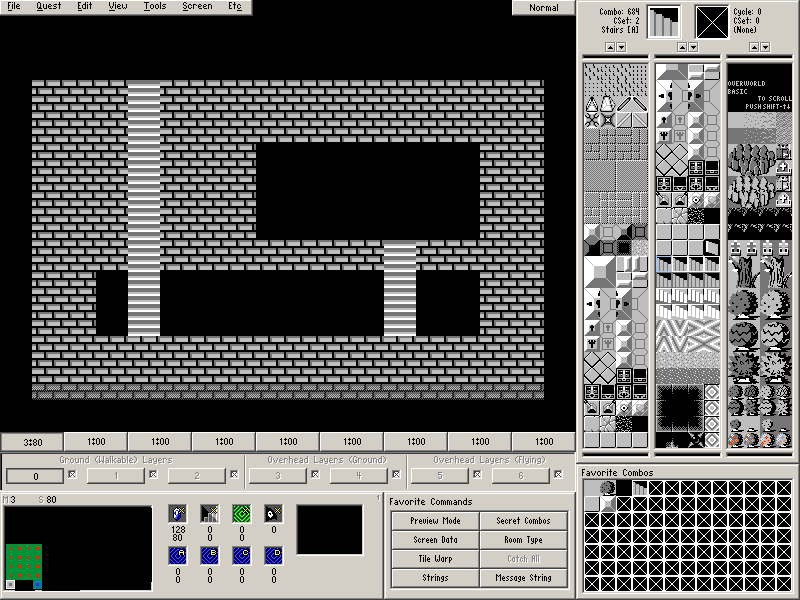
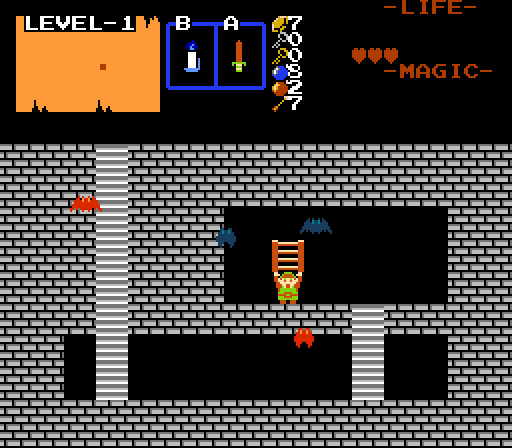
In the original The Legend of Zelda, dungeons almost always contained underground sideview areas that contained an item. In Zelda Classic, this type of room is accessed in the exact same manner as the caves we created in the overworld. It even uses the exact same template screen (Screen 80).
For simplicity, let's copy an existing template screen. Copy Map 2→Screen 80 and paste it on Map 3→Screen 80.
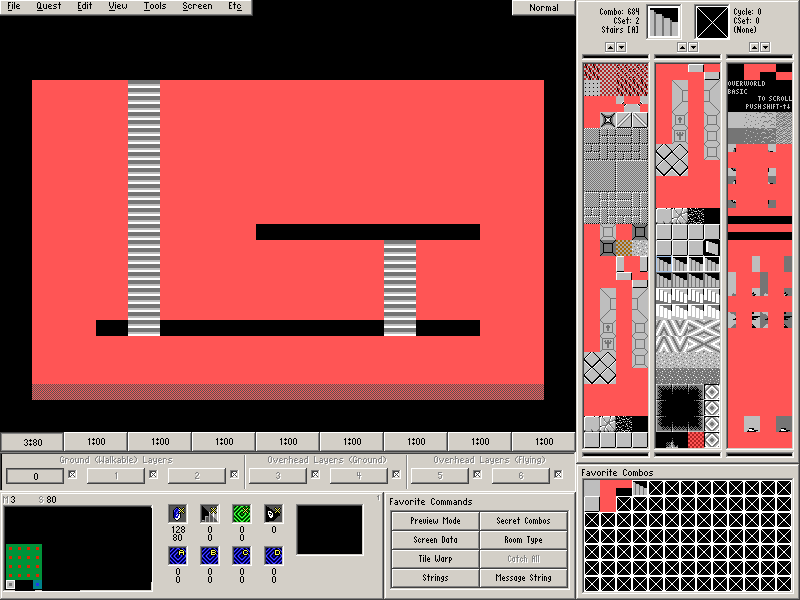
Take note of the fact that several of the combos used here are solid despite not looking like it. This is part of why it was so important to make sure you were using the correct combos in part 13.
There are three main requirements for the template screen. The first requirement is that the entrance to the screen is exactly 4 combos from the left at the top of the screen. The second requirement is that this screen will always use palette 00B. Since we have gone over palettes briefly, it's worth noting that the cave template for the overworld always uses palette 00A. And the final requirement is that you have placed an item location on the screen.
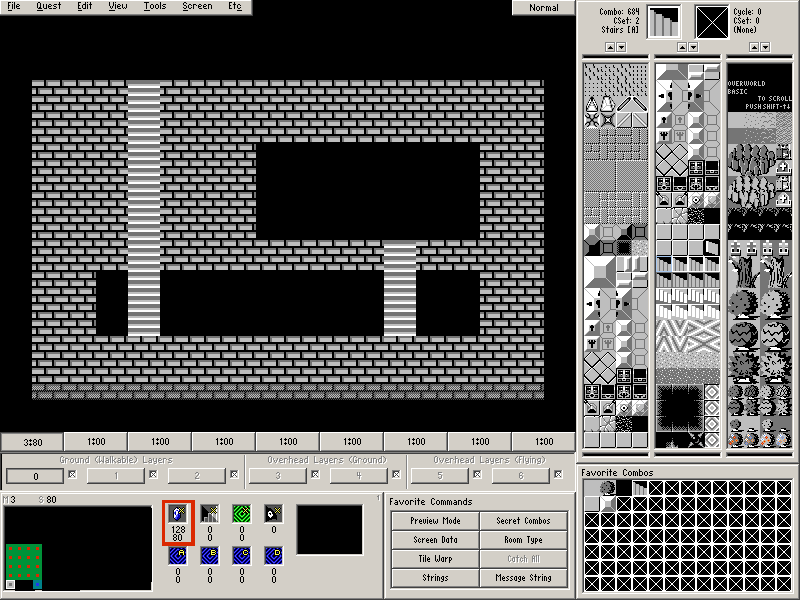
If you did a simple copy and paste, the item location did not copy with the template screen we just created on Map 3. So we need to set that. Due to changes in ZQuest, you can't place an item location via the first screen panel button unless you have an actual item selected. So you should temporarily set an item there.
Once you have placed the item, remove it. The location coordinates should still be stored below the item placement icon.
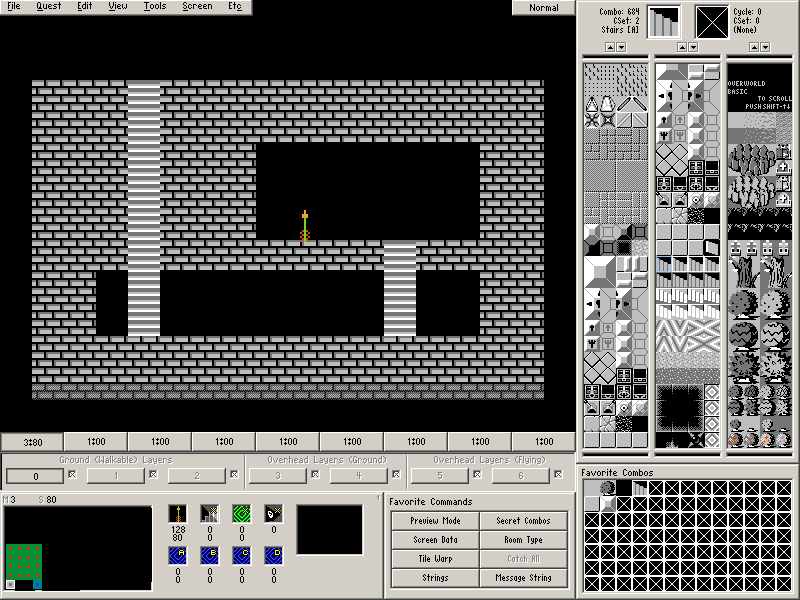
One final thing worth noting about item cellars is that they spawn four Keese (CSet7) enemies in a specific pattern by default. It's possible to change this behavior by simply placing four different enemies directly on the template screen. In some of the screenshots, there are Keese (CSet8) and Keese (CSet 9) enemies thrown in just for fun. Since this is applied to the template screen, every single item cellar on the map will have this change.
Note: Only place flying enemies such as keese, peahats (if you want to be a jerk), and bats or enemies that can go through walls such as tektites in item passages! While you can place other types of enemies, it will not work out well.
Part 19: Setting up an Item Cellar
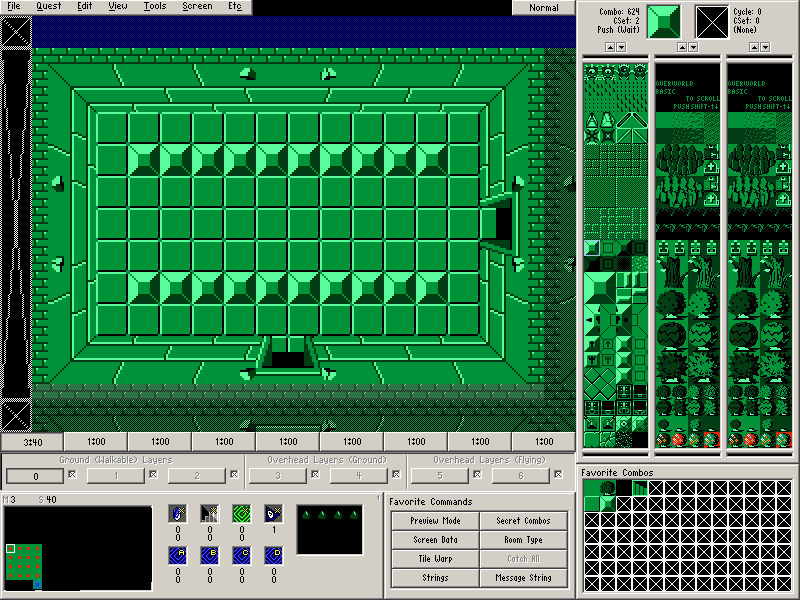
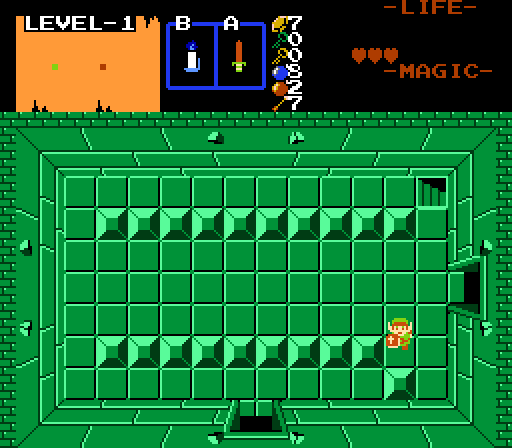
Now that we have an item cellar template, let's use it for something. Draw this screen on Map 3→Screen 40:
On this screen, we are going to have a push block reveal a set of stairs that lead to an item cellar. This item cellar will contain the ladder, which we will be making use of in the next room. So let's start setting up the actual item cellar with what we know how to do.
Door Combo Sets and Placing Doors
- Place the doors. (Screen→Doors or F6).
- There is an Open door to the south and an Open door to the east.
- Place some enemies on the screen if you want.
Setting up an item cellar is almost identical to setting up the sword cave we set up on the first screen of the quest. This includes the fact that the Tile Warp Type only needs to be set as Cave/Item Cellar.
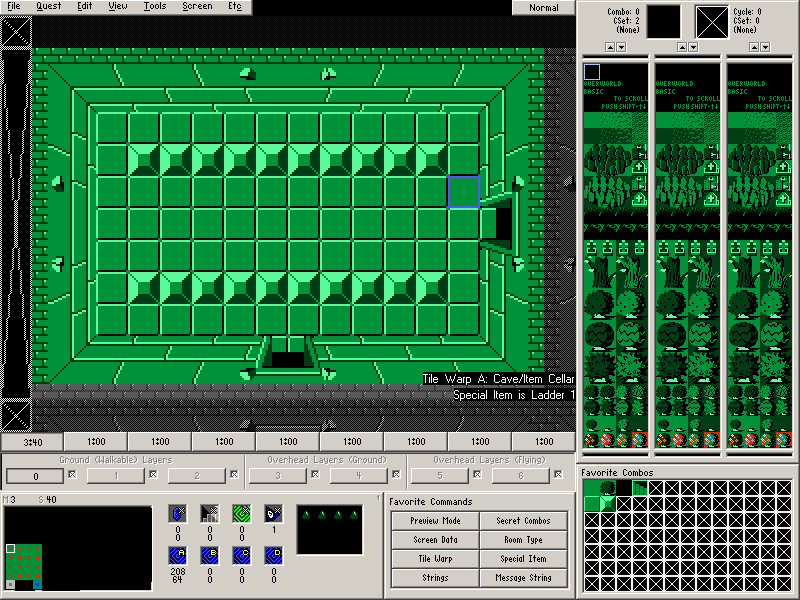
- Make sure Tile Warp A is Cave/Item Cellar.
- Set Warp Return Square A.
Go to Screen→Room Type (R) and select Special Item.
Go to Screen→Special Item (A) and select Ladder 1 from the list.
While the actual item cellar should be set up at this point, there is currently no a way to access it on the screen. We could simply place a Stairs [A] combo on the screen to fix that problem, but instead we are going to set up a secret type known as Stairs Secret.
Part 20: Stairs Secret
First off, let's set the method of triggering the stairs to appear using what we already know.
- Place Combo Flag #2 (Push Block (4-Way, Trigger)) on one of the blocks.
- If you check the help, you will notice this is one of the types of combo flags that can trigger Stairs Secret.
Since push blocks use the Under Combo…
Armos Knight and "Under Combo is Combo 0"
- Set the Under Combo (Screen→Under Combo) to the floor combo (Combo #516 CSet 2)
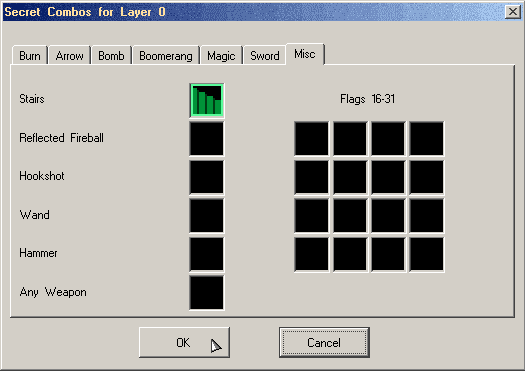
Much like the armos knight with the hidden stairs in chapter 2, Stairs Secret uses the Stairs Secret Combo.
- Set the Secret Combo for Stairs under the Misc Tab to a set of stairs. (Screen→Secret Combos)
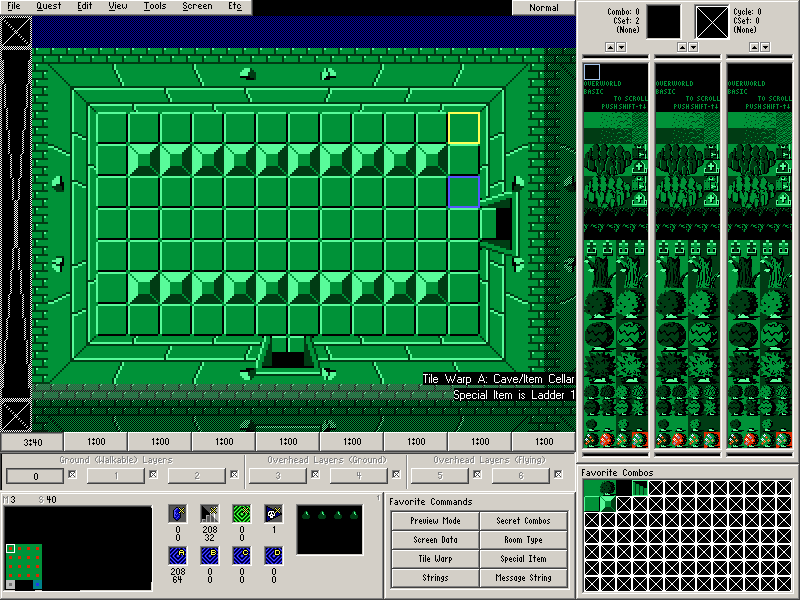
Now, click the Stairs Secret icon in the Screen Panel (it's the button with the set of animating stairs). Much like setting the item location or the Warp Return Square, simply drag the Stairs Secret where you would like to place it. This location will be where the stairs secret combo will appear once the block has been pushed.
Note: Stairs Secret will not trigger if you place it at screen coordinates 0,0 (the top left corner).
This is what the final screen should look like:
And this is how it should look in Zelda Classic:
