Chapter 5-4: (Continued)
Part 8: Zelda
This is it. The final screen for this first section of the tutorial! Let's end things by creating a screen to rescue Zelda like in the original The Legend of Zelda.
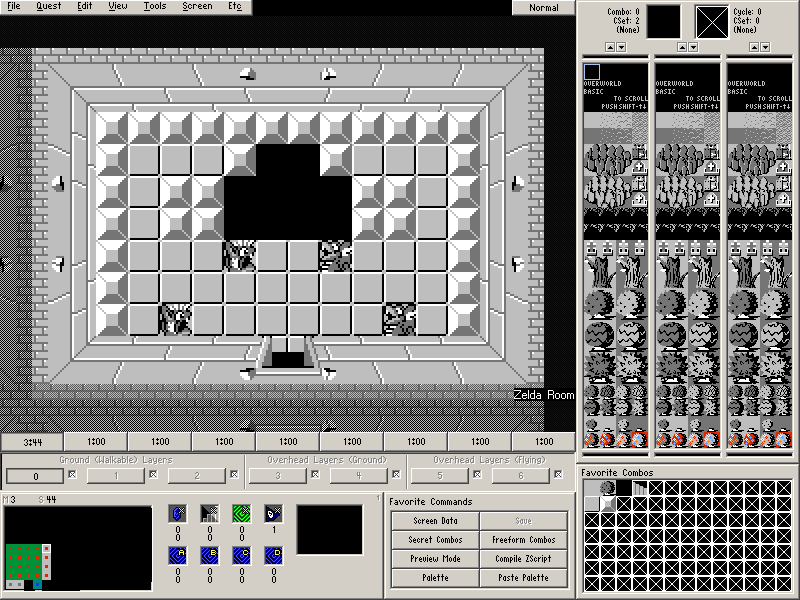
Draw this screen on Map 3→Screen 44.
Door Combo Sets and Placing Doors
- Place the door. (Screen→Doors or F6).
- The south door is Open.
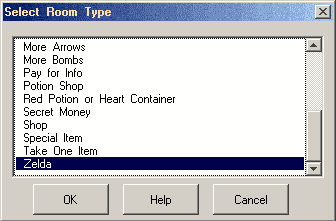
Set the Room Type (Screen→Room Type or R) as Zelda. The only thing this does is spawn four fire enemies in front of the Guy. It doesn't even set the invisible barrier that is normally set with Guy rooms.
Setting up the Cave Information
- Select Zelda as the Guy. (Screen→Guy or G)
- It's important that Zelda is the guy on this screen because of an animation that occurs in the ending sequence.
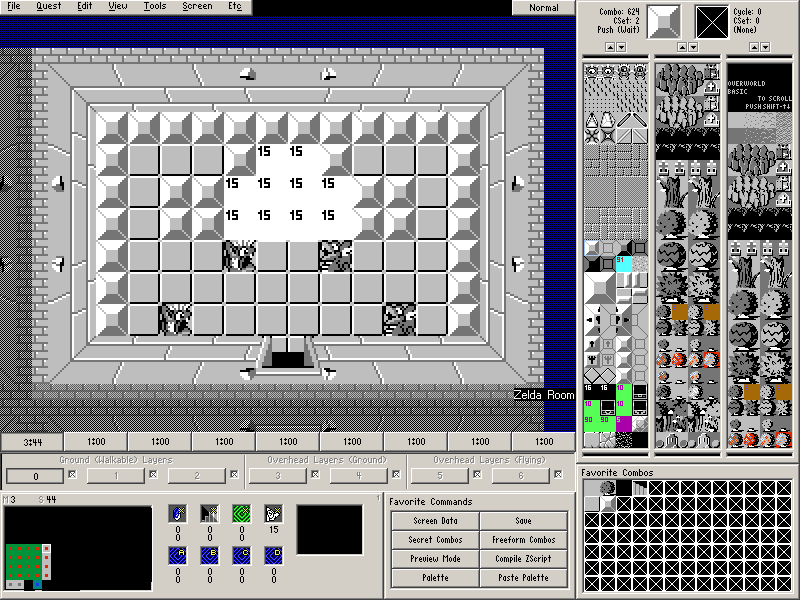
- Place Combo Flag 15 (Zelda (Win Game)) on the screen as shown below.
- When the player steps on this combo flag, the quest will play the end game sequence and the credits will roll.
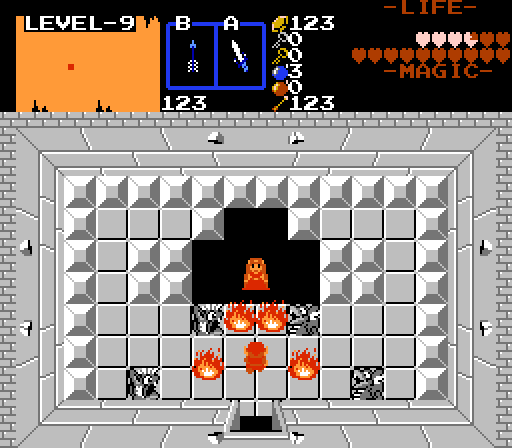
And with that, the Zelda Room should be almost finished. We just have one last step. But here is how the Zelda room should look at the moment.
Part 9: The End String
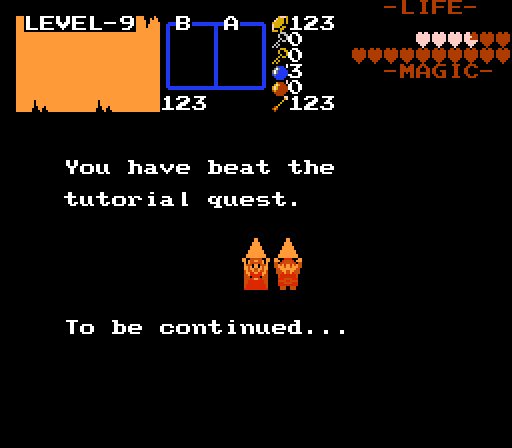
The ending sequence is almost entirely hard-coded and unchangeable for the most part. It's pretty much identical to the original The Legend of Zelda. The most you can really do to it if you try hard is change the sprites that show up before the credits start rolling by directly editing some tiles. But there is one part of it that ZQuest allows you to change rather easily: the End String.
First off, let's go over some rules regarding the end string, or rather strings.
- There are actually two strings. The first string is shown above Link and Zelda. The second string is shown below them.
- The two strings must follow each other in string numbering. This means if you select string 3 for your end game message, it will pick string 3 for the first string and string 4 for the second string.
- String Control Codes (don't worry if you don't know what this is) are ignored.
- Text Wraps around Bounding Box is ignored, so you need to manually space your strings.
- The font choice you make is ignored and it will always use the default Zelda NES font.
- If the End String is set to None, it will default to the original ending text from The Legend of Zelda.
With those rules in mind…
- Create two Strings (Quest→Strings)
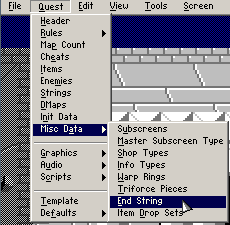
Go to Quest→Misc Data→End String.
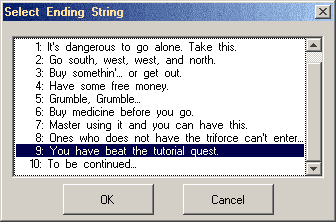
Select the first of the two strings you created and press OK.
Once you have this set up, everything should be finished and ready to go.
