Chapter 1-6: (Continued)
Part 21: Testing the Quest
Well, now that we've finally completed one screen, it's time to test it out and see how things are working.
First off, open the quest in Zelda Classic. We are not going to spend the time making a tutorial on this since there are already a few of those around. Needless to say, File→Load Quest in Zelda Classic is your friend. ![]()
Try to do the following things:
- Enter the cave that we created, grab the sword, and leave. Link should exit as he would in Zelda 1.
- Push against the Armos Knight (that statue) to activate it. Take note of the bizarre black combo it leaves behind when waking up. This is directly related to that warning we ignored in Part 19.
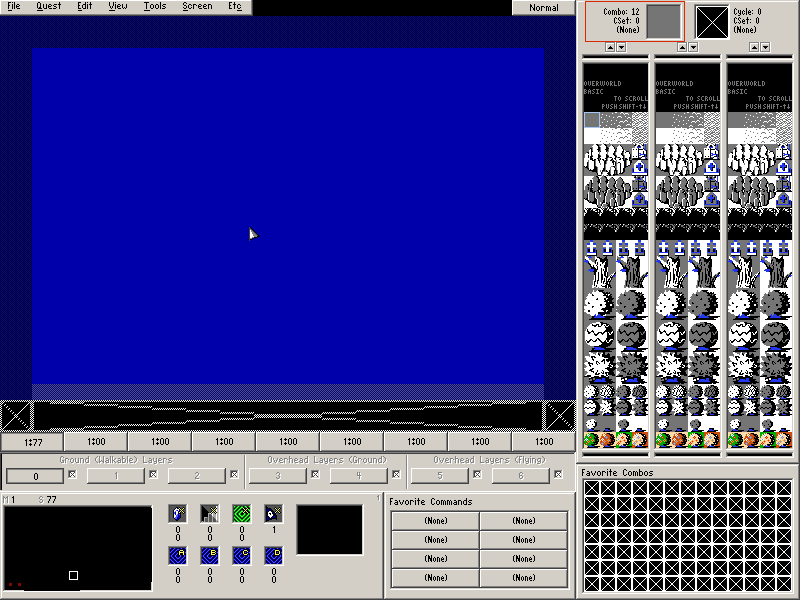
- Go west to the next screen and notice the empty void we have yet to fill in. This is what the blue void looks like by default with this particular tileset. That's because the blue void is actually a screen filled with Combo #0 with CSet 0.


Part 22: Quest Rule Suggestions
Before we move on to the next chapter, why not try experimenting with toggling some quest rules and see how they affect the quest? You don't have to keep them on if you don't want them.

As we said in Part 2, quest rules will let you change various behaviors in the quest. They are broken down into sections available under Quest→Rules.

Explaining all of these is out of the question for a simple tutorial, but we will be bringing up some quest rule suggestions from time to time. ![]()
Here are some quest rules you may want to toy around with:
- Quest→Rules→Other→Messages Can Be Sped Up With The A Button
Turn this on or everyone will try to murder you in your sleep. Strings bring up some of the worst impatience in some quest players, thus being able to speed up messages by holding the A button was an extremely welcome feature. - Quest→Rules→Other→Show Time On Subscreen
This will allow the subscreen (what comes up when you press start) to show how long you have been playing. - Quest→Rules→Animation→Circle, Oval, Triangle, and Super Mario All-Stars Opening/Closing Wipes
These are four different quest rules. These allow for entrance opening effects outside of the classic Zelda 1 opening wipe. If any of these are checked, the Zelda 1 wipe is disabled. If you check more than one of these, Zelda Classic will randomly swap between them for each warp.