Chapter 4-1: Continuing the Overworld
In this chapter, we're going to continue working on the overworld. We'll be going over more types of rooms and covering concepts such as special secret flags, combo editing, the raft, the whistle, and warp rings.
Part 1: Rafting
In Zelda 1, the raft item allowed you to travel in a straight line across water between two docks that were on different screens. It was used a grand total of two times in the entire game (considering the overworld does not change much between 1st and 2nd quest), so it's not very memorable or interesting.
Zelda Classic's implementation is far more flexible since you can make twisting paths across any surface that can even allow branches where the player can choose the direction. So let's try that out.
There are three things you need to use when working with the raft paths in Zelda Classic.
- Dock combos
These are the starting points of a raft path. - Raft combo flags
These are the actual path markers. - Raft branch combo flags
These allow you to go into branching directions depending on the direction the player is holding.
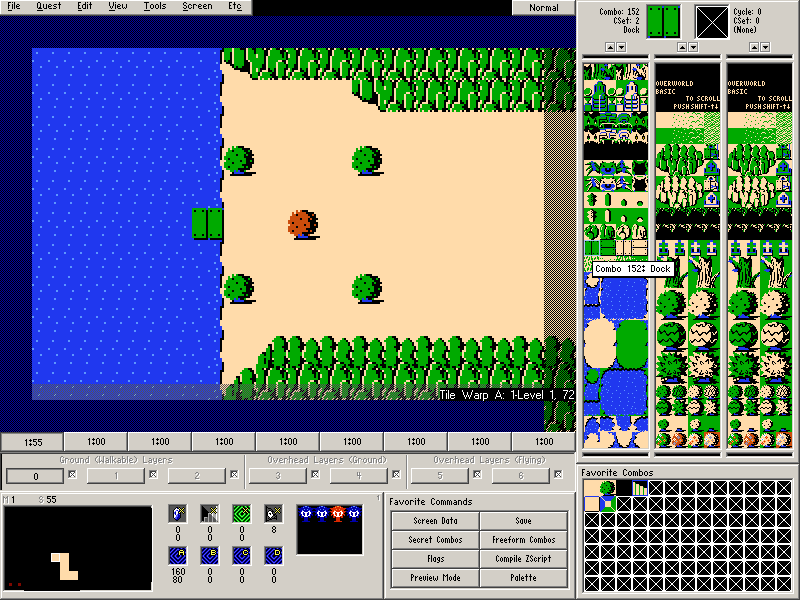
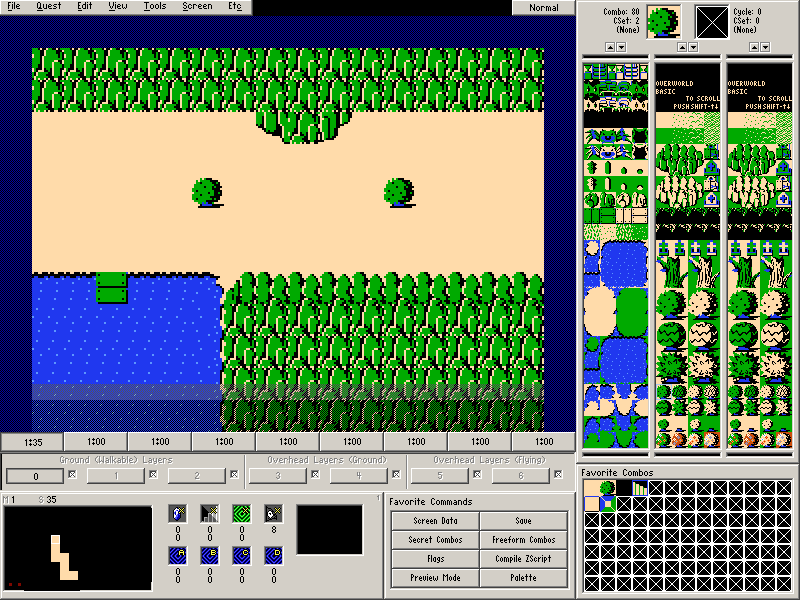
So let's start out by placing Combo 152 (a Dock combo) on Map 1→Screen 55 (the dungeon entrance screen).
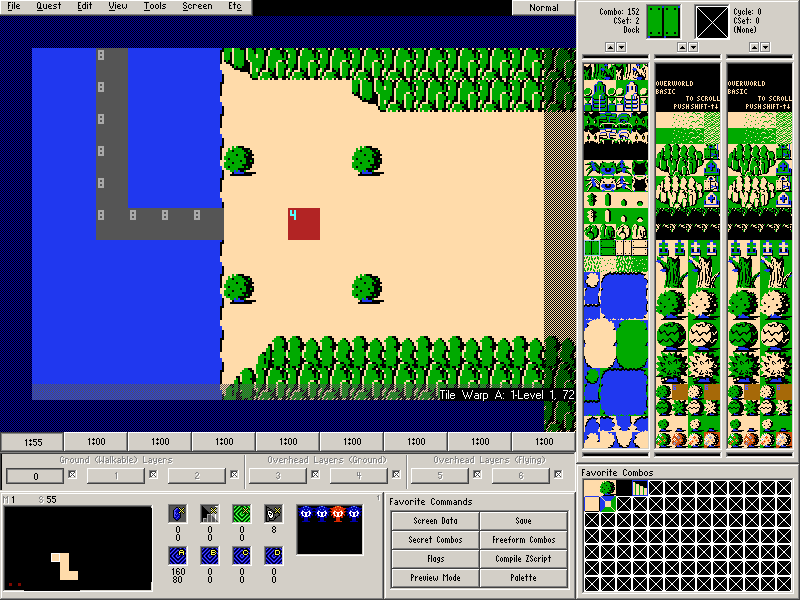
Now let's make a raft path.
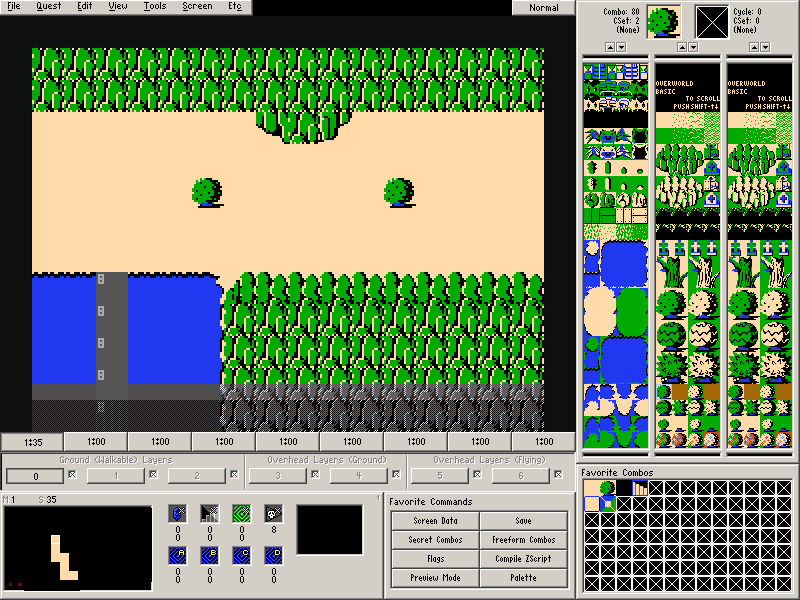
- Place Combo Flag 8 (Raft Path) on the screen as shown above. Make sure that the flag also covers the dock, otherwise this raft path will not work.
Raft paths are capable of spanning multiple screens, so we're going to demonstrate that for the next two screens.
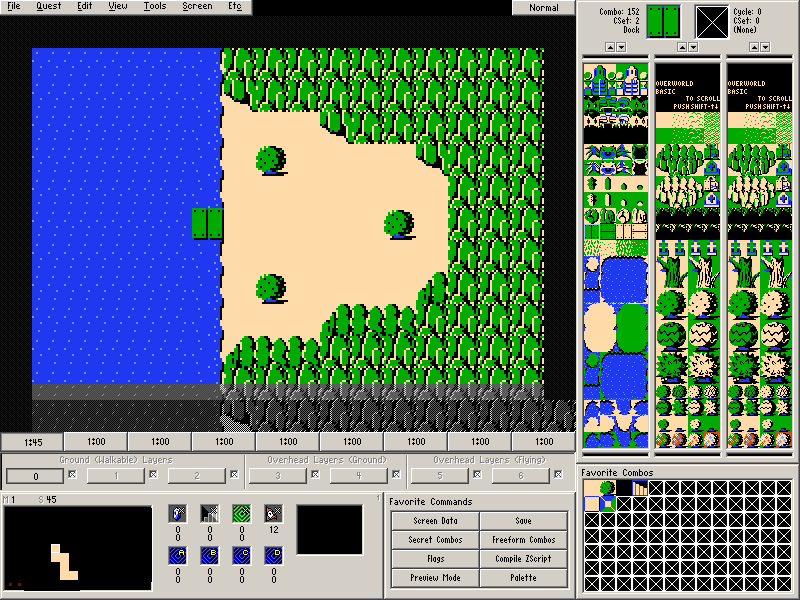
Draw the above screen on map Map 1→Screen 45. Make sure that the dock is a dock combo.
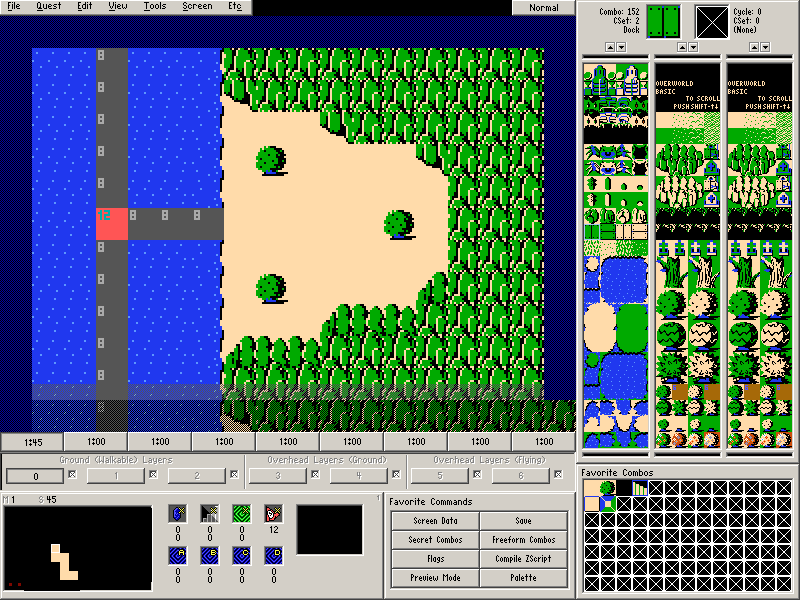
- Place Combo Flag 8 (Raft Path) on the screen as shown above. Make sure that it connects properly to the raft path on the previous screen or Link will jump off the raft and get stuck upon changing screens.
- Since we want this raft path to branch between continuing forward or navigating to the dock, we also need to place Combo Flag 12 (Raft Branch) at the actual branching point as shown above.
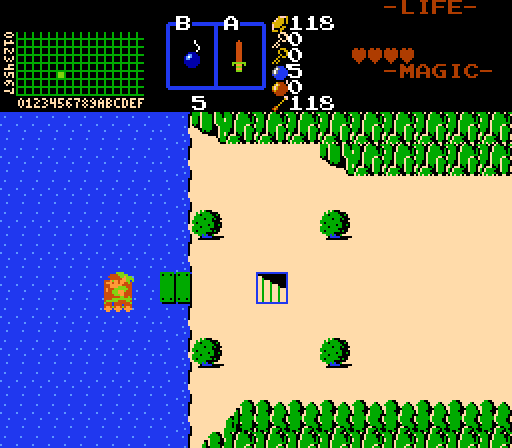
Finally, let's draw the screen above on Map 1→Screen 35. Once again, make sure you use the proper Dock combo.
- Place Combo Flag 8 (Raft Path) on the screen as shown above. Make sure that it connects properly to the raft path on the previous screen or Link will jump off the raft and get stuck upon changing screens.
And that's all. This should be a functional raft path with a branch now.
Design Tip: Normally, this tutorial wouldn't get into things like this, but this is another pet peeve of many people. Do not abuse raft paths! While you should use them if you need them, they need to make logical sense so that it doesn't boil down to randomly guessing which direction to press where. To put it simply, you shouldn't have invisible raft path mazes unless you want to make people angry.
Part 2: Zoras
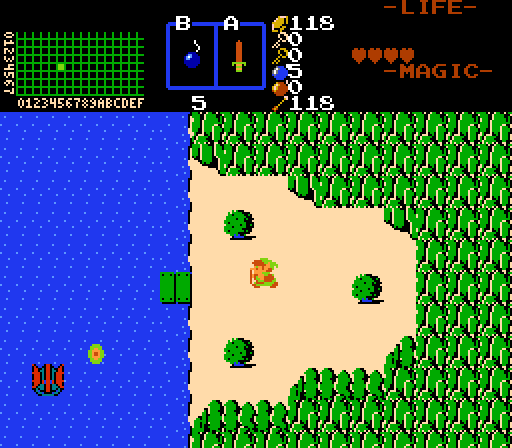
In Zelda 1, many bodies of water contained a zora that would randomly surface and shoot fireballs. While you can emulate this behavior by simply placing a Zora enemy on the screen with enemy placement (much like you could do with Traps in the previous chapter), we're going to do it through another method: an enemy flag.
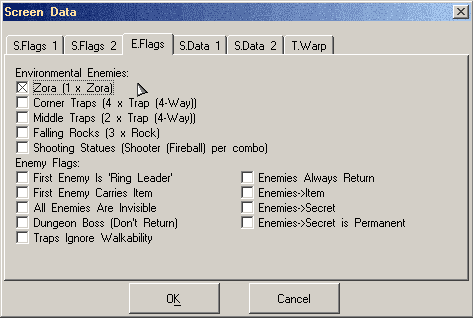
On one or more of the screens where we have placed water, go to Screen→Screen Data (F9) and switch to the E.Flags tab.
Check Zora (1 x Zora).
Now a zora should start popping up on the screen if there is water.
Part 3: Potion Shop
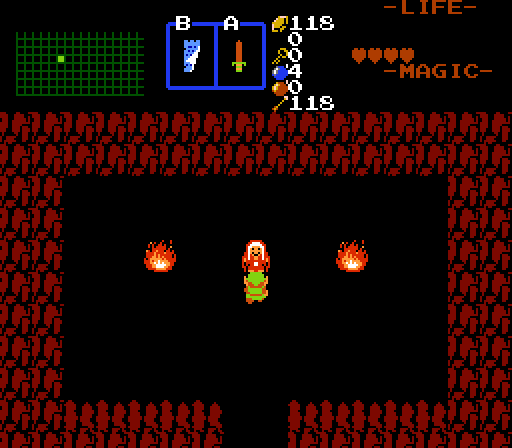
The Letter that we placed in the dungeon is an item that allows you to buy items from shops that normally won't sell you anything. In Zelda Classic, these are labeled as Potion Shops because the only usage of them in Zelda 1 was to reveal special potion shops run by the Old Woman. However, Zelda Classic will let you place items other than potions for sell.
The setup procedure is pretty much identical to a normal shop, so we're going to mix things up a bit and also create a bombable cave entrance.
Go to Map 1→Screen 35.
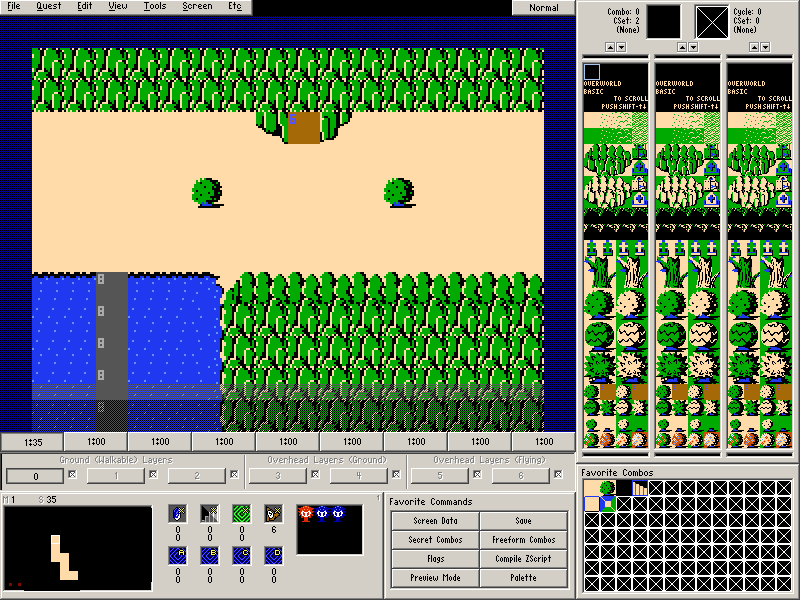
Let's set up the entrance first. The process for this is nearly identical to the burnable dungeon entrance we created in Chapter 2.
- Place the Bomb Flag (Flag #6) as shown below.
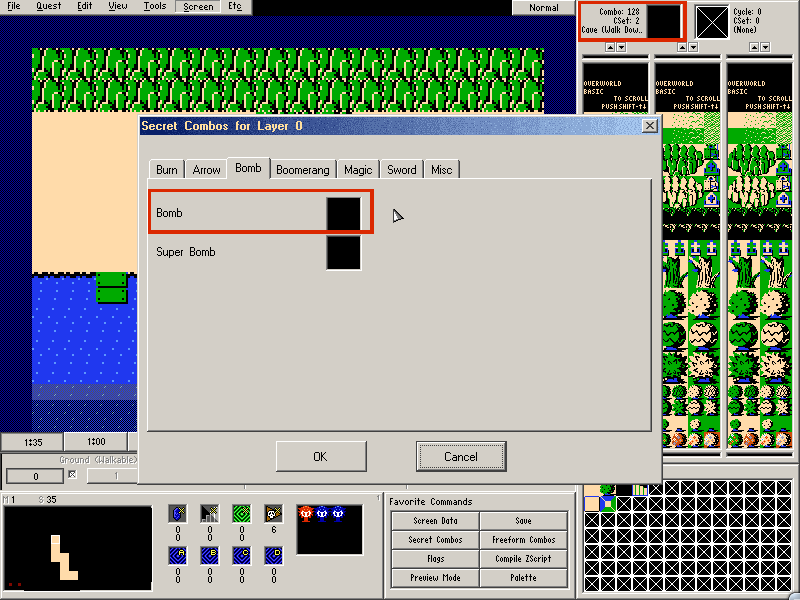
- Set the Secret Combo for Bomb under the Bomb Tab to a cave entrance. (Screen→Secret Combos)
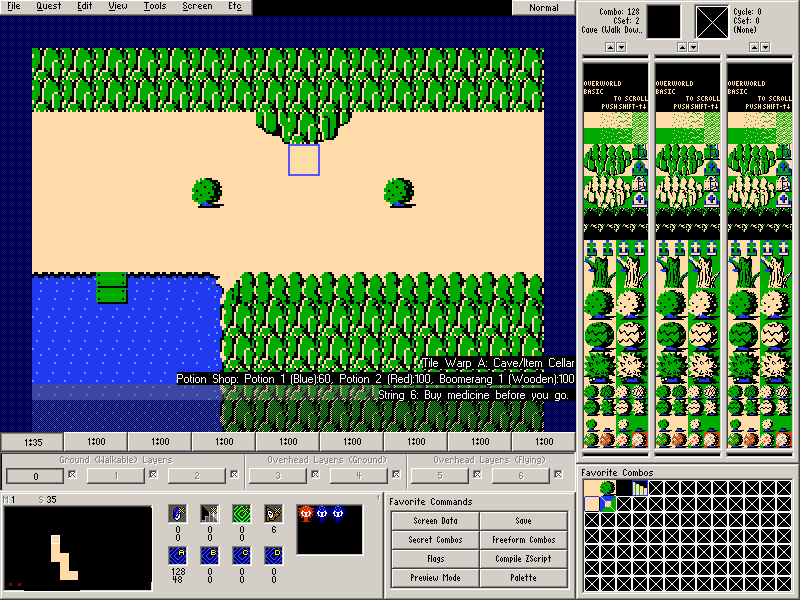
Now let's set up the potion shop. For the sake of keeping things simple, you need to follow the shop creation directions from chapter 2. However, pay attention to the notes below.
- Unrelated step: Place some enemies on the screen if you want.
- Select a guy (Screen→Guy (G))
- Set up a string. Note that this string will not appear until after you show the letter and enable the shop for buying things.
- Make sure Tile Warp A is Cave/Item Cellar.
- Set Warp Return Square A.
- Create a Shop Type (Shop Type 1 is a good slot for it.) Use whatever items and prices you want and give it a descriptive name like Potion Shop.
- Difference: Instead of Shop for the Room Type, we want Potion Shop for the Room Type (Screen→Room Type (R))
- Select the Shop Type (Screen→Shop Type (A)).
And the shop should be ready.
